
Last updated October 9, 2026
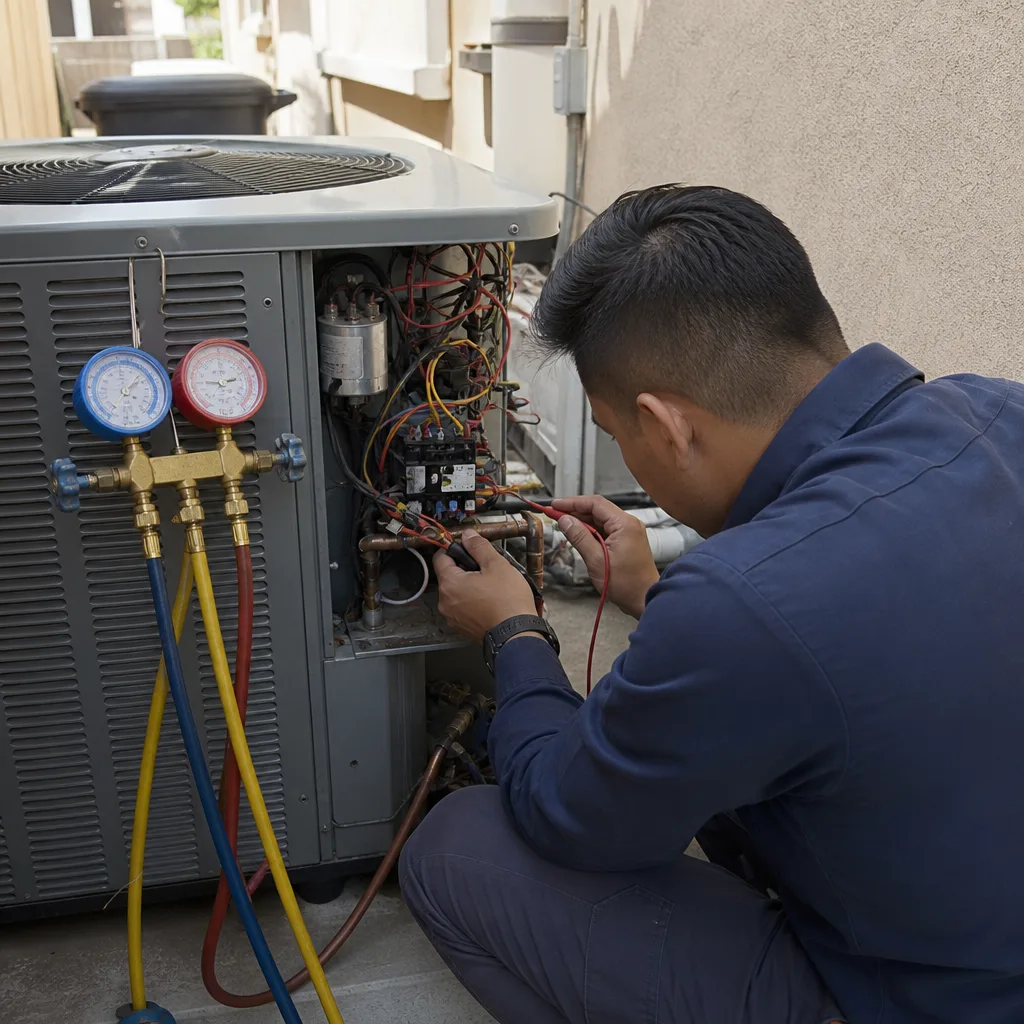
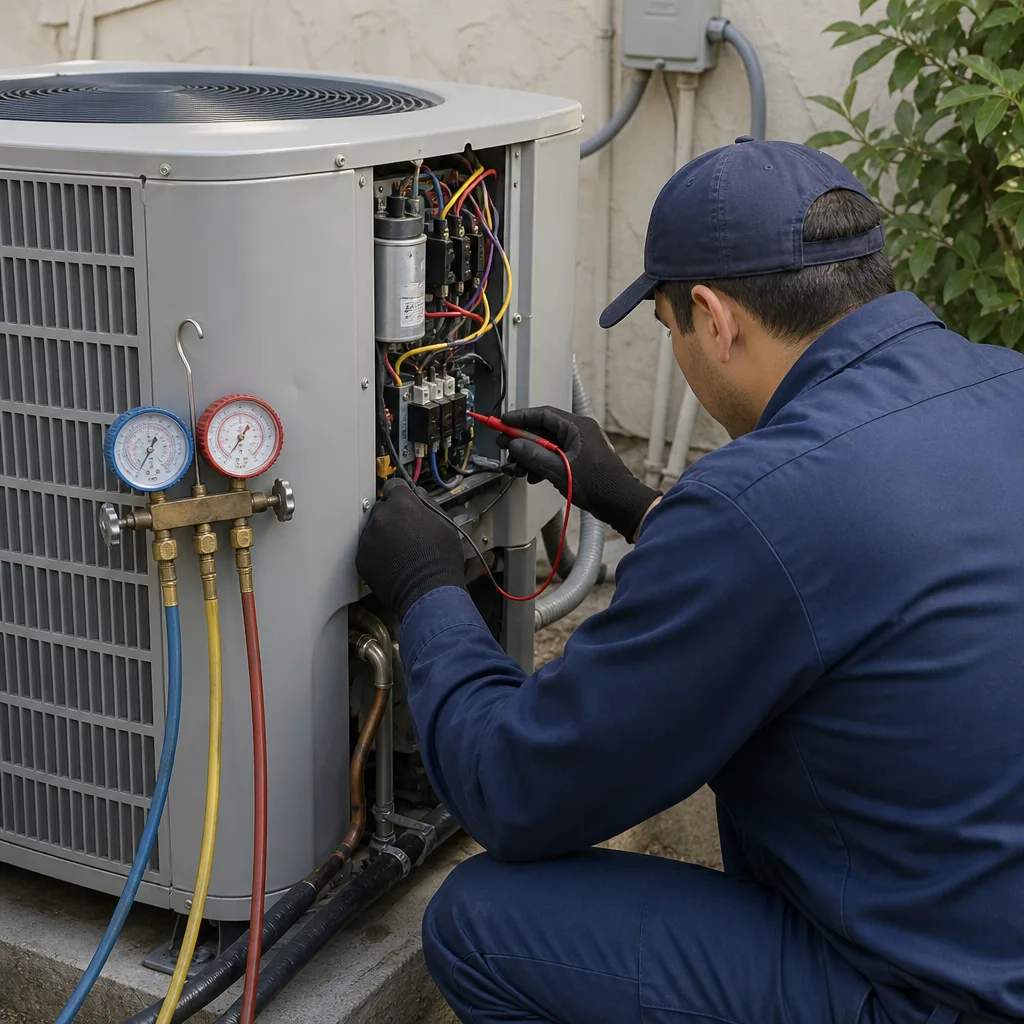
Seasonal tune-up and full diagnostic on your Carrier, Trane, or Goodman system - readings shown to you before any repair is proposed
Diagnosis first, numbers second - you approve the repair price before a single part goes in.
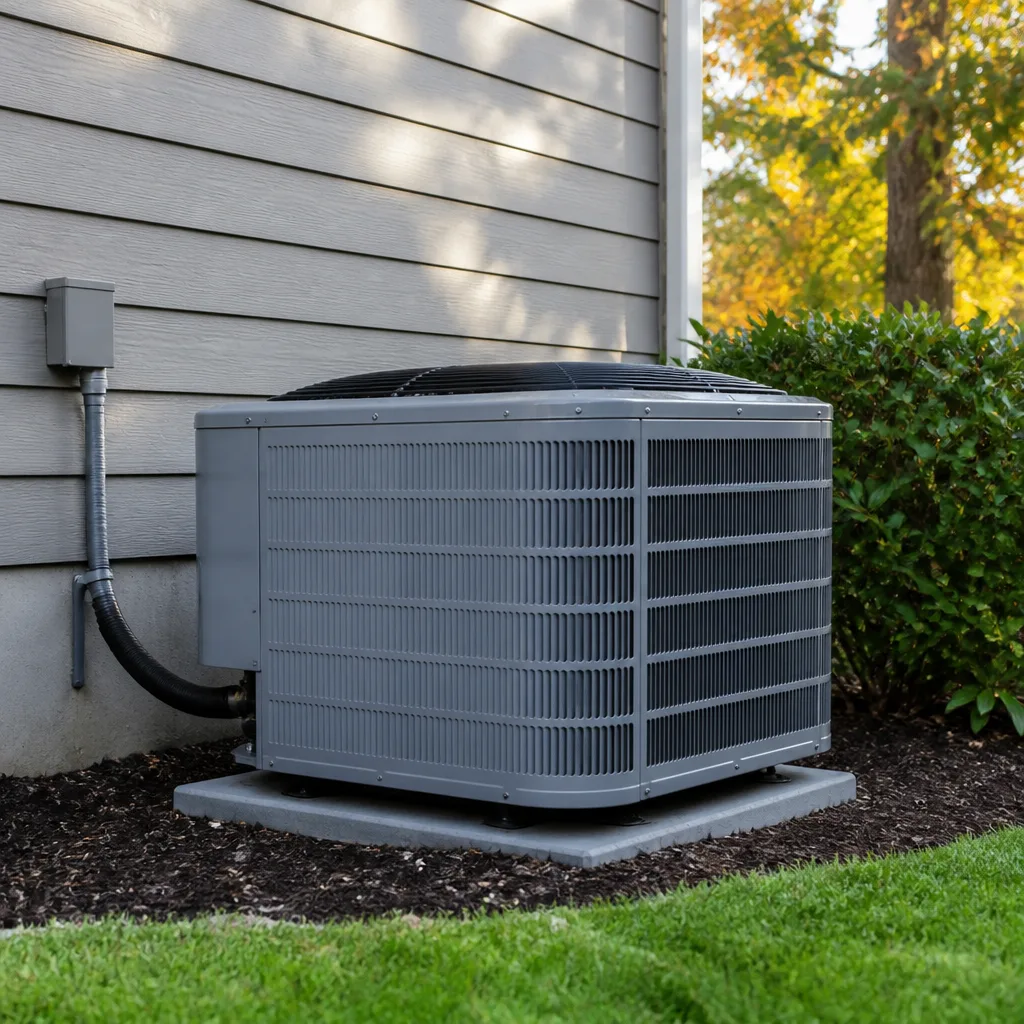
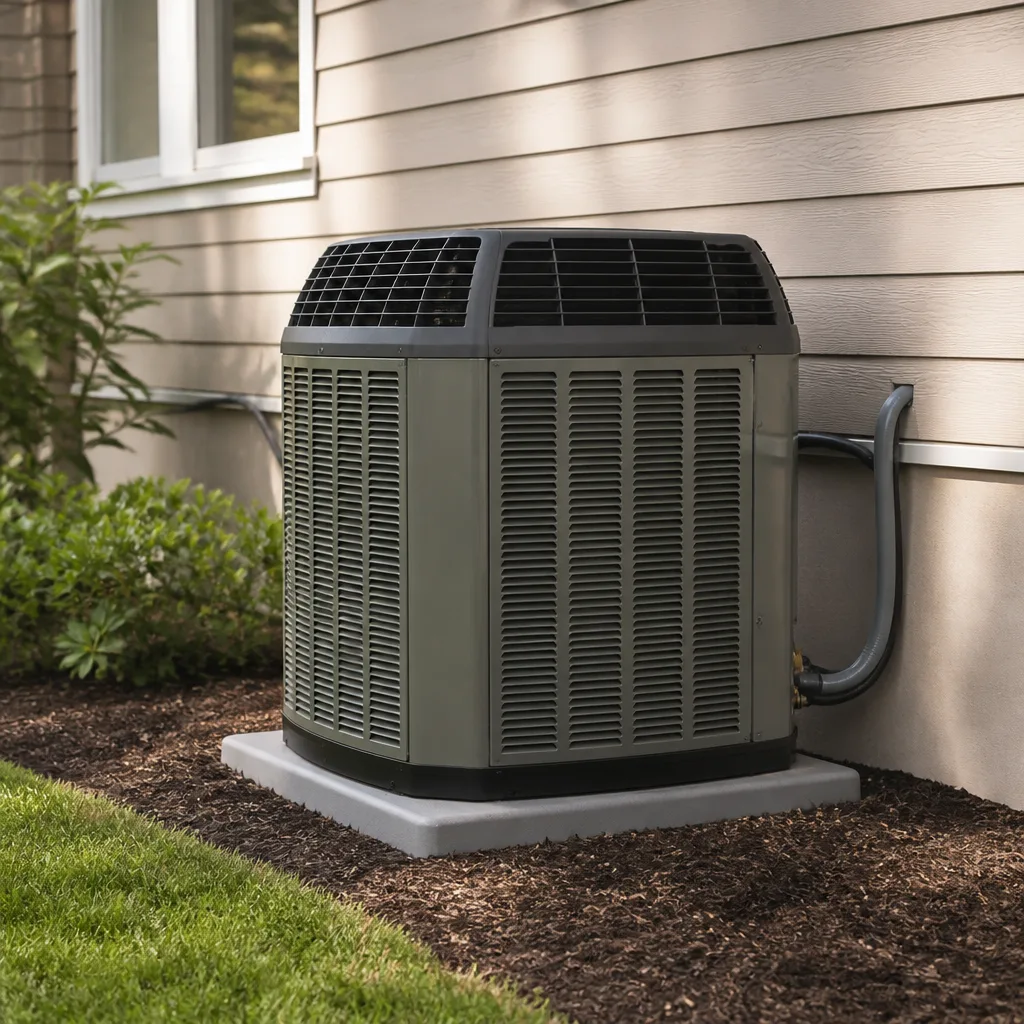
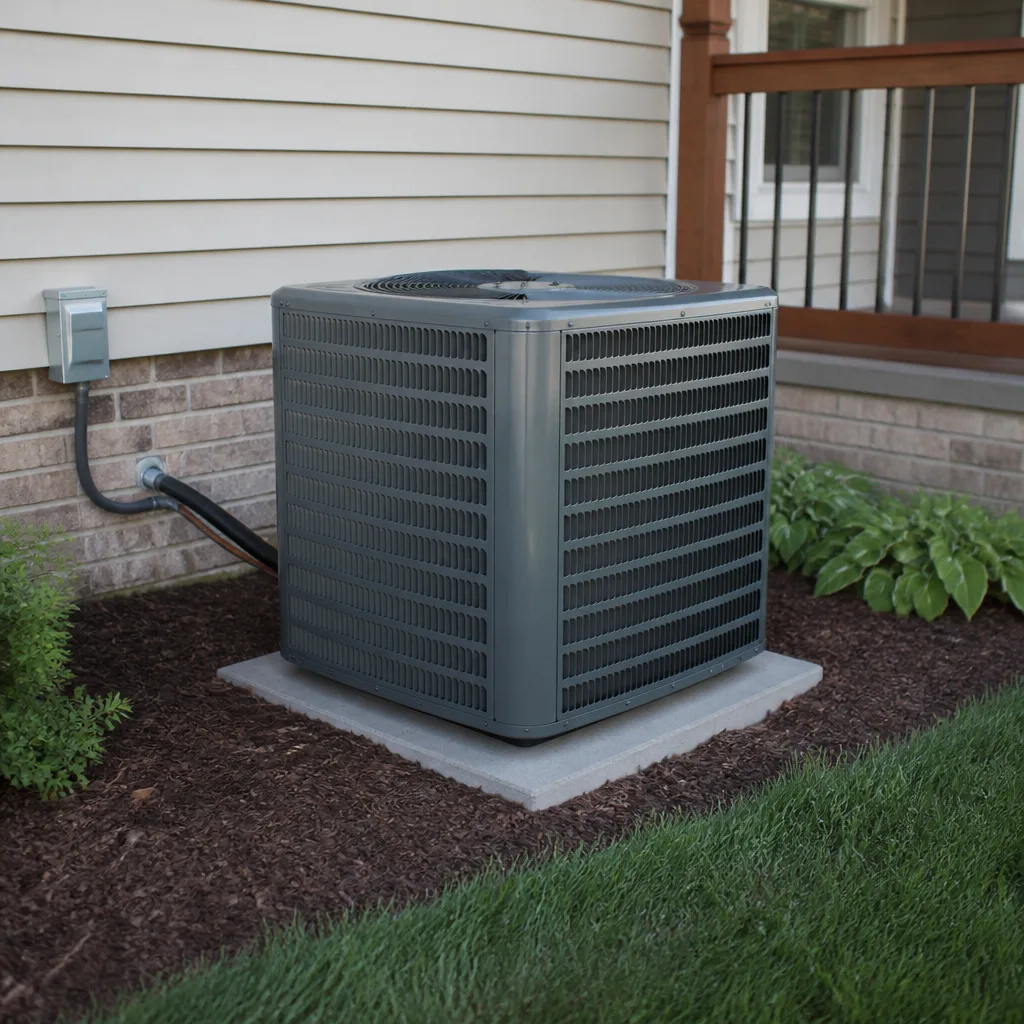
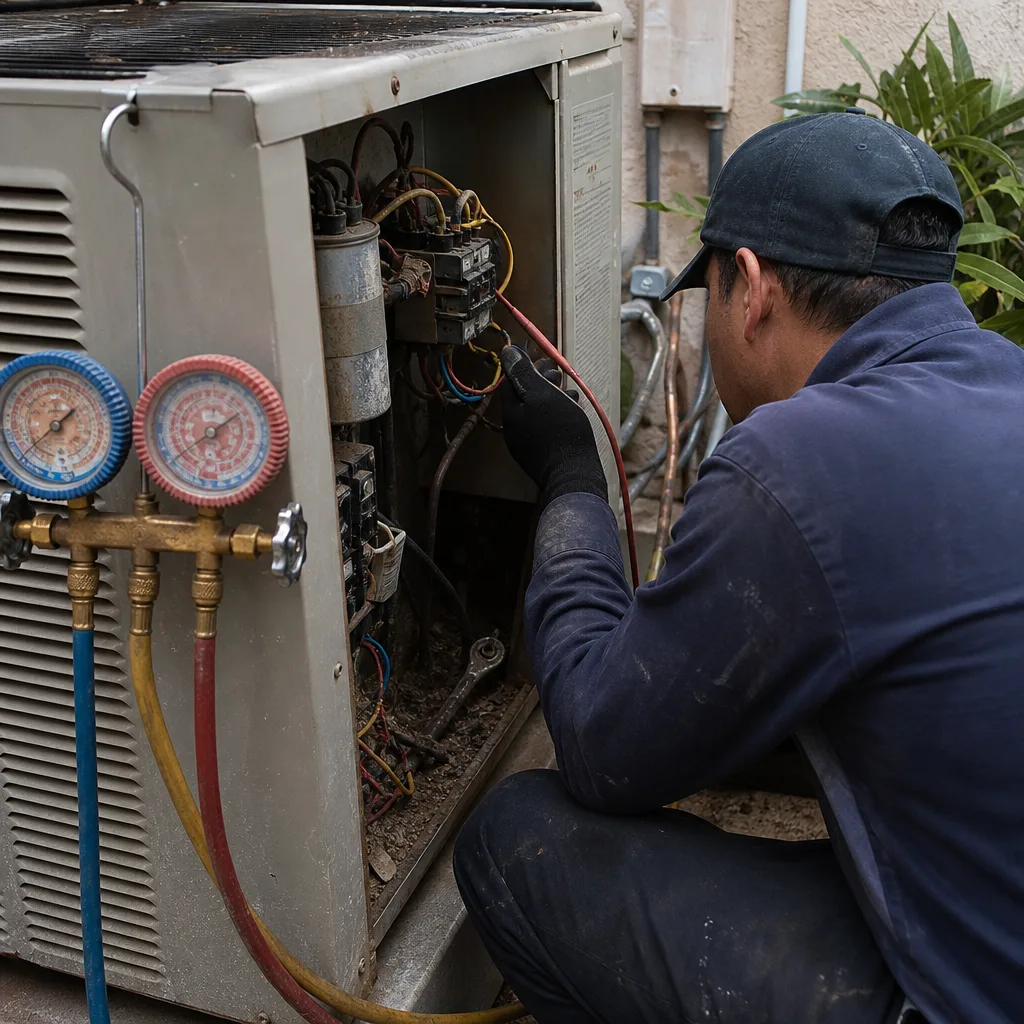 Before
 After
After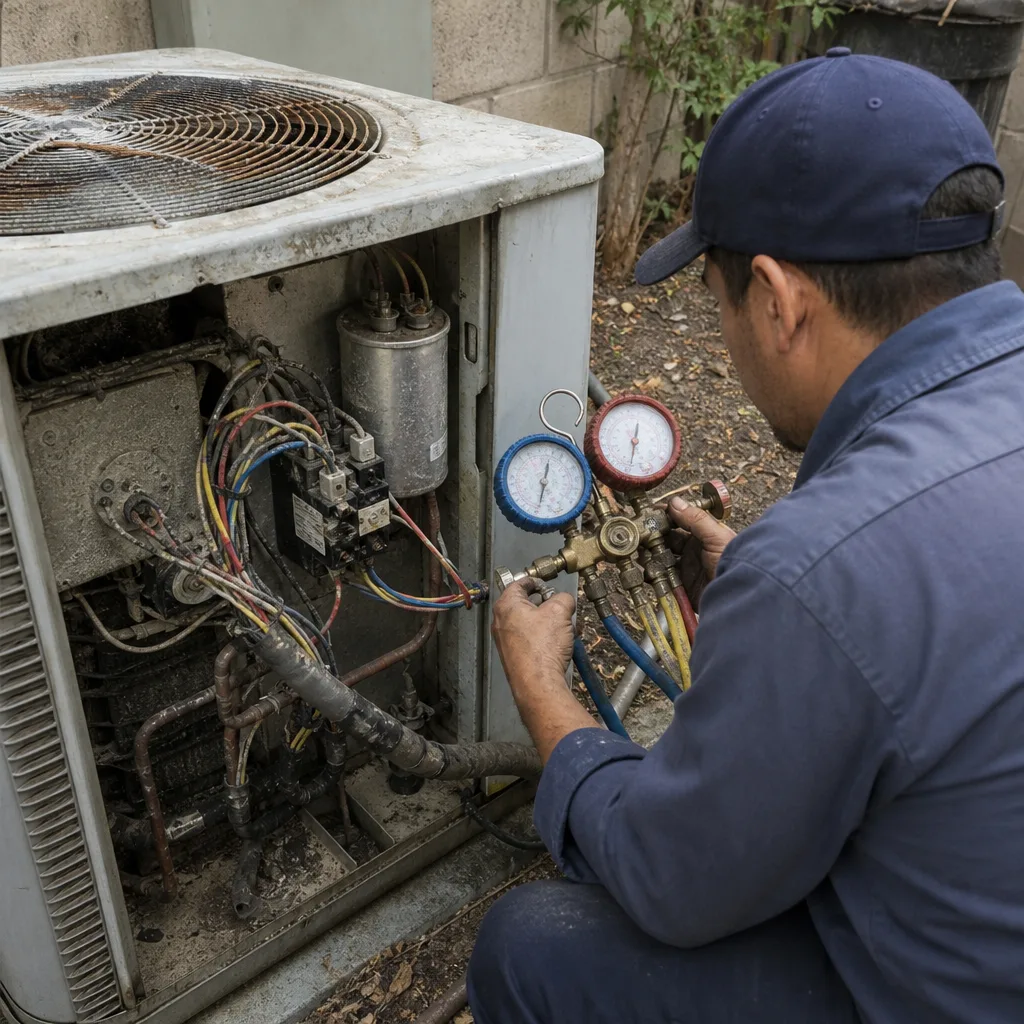 Before
 After
After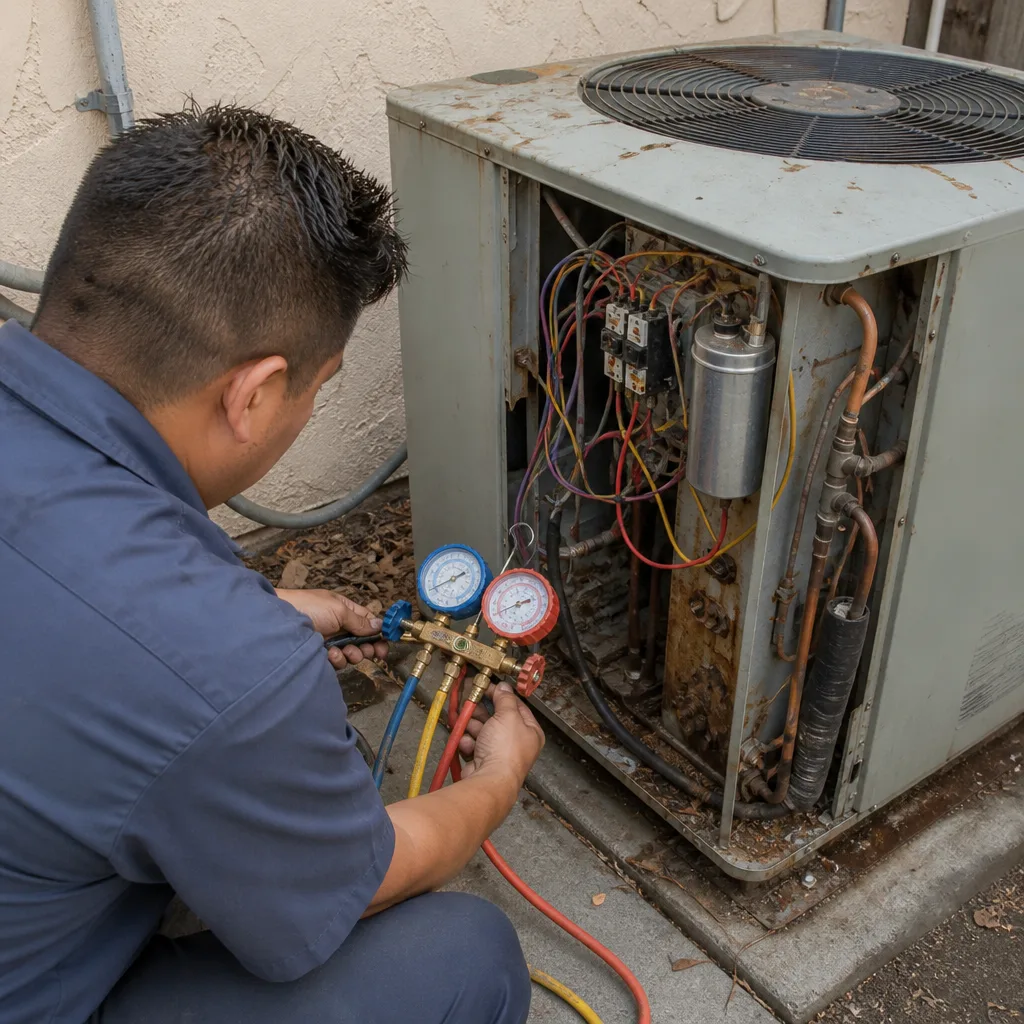 Before
 After
AfterAC Repair Troubleshooting: Common Problems and How to Fix Them
The most dangerous AC troubleshooting mistake isn’t skipping a step. It’s resetting a tripped breaker on a compressor that tripped for a reason. That single action can burn out a $1,200 component in under a minute. We wrote this guide because Los Angeles homeowners deserve a resource that draws a clear line between what’s safe to check yourself and what should stop you cold. For professional help, see our AC Repair services. You’ll learn how to read the symptoms your AC is already showing you, which sounds mean which part is failing, and exactly what to have ready before you call a technician.
Quick Answer
Most common AC problems fall into five categories: airflow restrictions, electrical trips, refrigerant leaks, capacitor failures, and thermostat miscommunication. A homeowner can safely investigate roughly half of these (dirty filters, blocked vents, thermostat settings, visible ice, clogged drain lines) without tools or risk. Anything involving electrical panels, refrigerant lines, or compressor internals crosses into territory where we recommend you stop and call a licensed professional. In Los Angeles, where summer temperatures regularly exceed 90°F, a downed AC isn’t an inconvenience, it’s a same-day repair priority.
Table of Contents
- The Symptom-to-Cause Map: What Your AC Is Trying to Tell You
- Safe to Investigate: The Look, Don’t Touch Checklist
- Stop and Call: The Liability and Safety Line
- Why a Tripped Breaker Is a Clue, Not the Problem
- What That Sound Means: Rattling, Squealing, and Clicking Decoded
- How to Read Your Thermostat Error Codes Before Calling
- What to Have Ready When You Call
- Common Mistakes to Avoid
- When to Call a Professional
- Frequently Asked Questions
The Symptom-to-Cause Map: What Your AC Is Trying to Tell You
Every air conditioner failure follows a pattern. The system doesn’t usually die without warning; it broadcasts symptoms for days or weeks before a full shutdown. The problem is that most homeowners don’t know how to listen. Here’s the map we use on service calls across Los Angeles. It pairs what you’re experiencing with what’s likely happening behind the panel, and critically, whether you should investigate it yourself or leave it alone.
- AC runs but doesn’t cool: Most often a dirty evaporator coil, a clogged air filter, or low refrigerant. The first two are safe to check. The third requires a licensed tech with a gauge set.
- AC short-cycles (turns on and off every few minutes): Usually an oversized unit, a failing capacitor, or a refrigerant overcharge. The capacitor sits inside the outdoor condenser cabinet and is not a DIY component.
- AC runs constantly but never reaches temperature: In Los Angeles heat, this points to a system that’s undersized for the square footage, or a refrigerant leak that’s been slowly bleeding charge. Both need professional diagnosis.
- AC blows warm air: Check the thermostat first (is it set to “cool” and not “fan”?). If the setting is right, the compressor may not be engaging. That’s a call-the-professional symptom.
- Water pooling around the indoor unit: A clogged condensate drain line. This one is actually safe to clear with a shop vac if the line is accessible. More on that below.
- Ice on the refrigerant lines or evaporator coil: Shut the system off immediately and let it thaw. Ice means airflow restriction or low refrigerant. Running it iced will damage the compressor.
- Burning smell when the AC kicks on: Dust burning off after months of disuse is normal and goes away quickly. A persistent acrid or electrical smell is a motor or wiring problem. Turn it off and call.
What this map tells you is that roughly half of common symptoms have a safe first step you can take yourself. The other half are the kind of thing where opening the wrong panel costs more than the service call would have. Knowing which is which is the entire point of this guide.
Safe to Investigate: The Look, Don’t Touch Checklist
These are the five things we tell our Los Angeles customers they can check without risk before calling us. None of them involve opening an electrical panel, touching refrigerant lines, or working on anything with stored charge. If any of these fixes solves the problem, you just saved yourself a service call. If none of them does, you’ll have valuable diagnostic information ready for the tech.
- Check the thermostat settings and batteries. Confirm it’s set to “cool” with the fan on “auto.” Replace the batteries if the display is dim. In our experience, a surprising number of “AC failures” are a thermostat that lost its programming after a power flicker.
- Check the air filter. A filter clogged with pet hair and dust can reduce airflow enough to freeze the evaporator coil. If the filter looks dirty, replace it. In Los Angeles, with wildfire season ash and general particulate matter in the air, filters clog faster than the 90-day rule most manufacturers suggest.
- Check your circuit breakers, but don’t reset them yet. This belongs on the safe list with a major caveat. Seeing that a breaker has tripped is information. Resetting it before understanding why it tripped can destroy your compressor. Look, note which breaker is off, and move to the section below on tripped breakers before touching anything.
- Check visible ductwork in the attic or crawl space. If you can see a duct that’s come loose from a register or has a visible tear, you can resecure it with foil tape (not the gray fabric kind). This is one of the simplest and most satisfying DIY wins in HVAC.
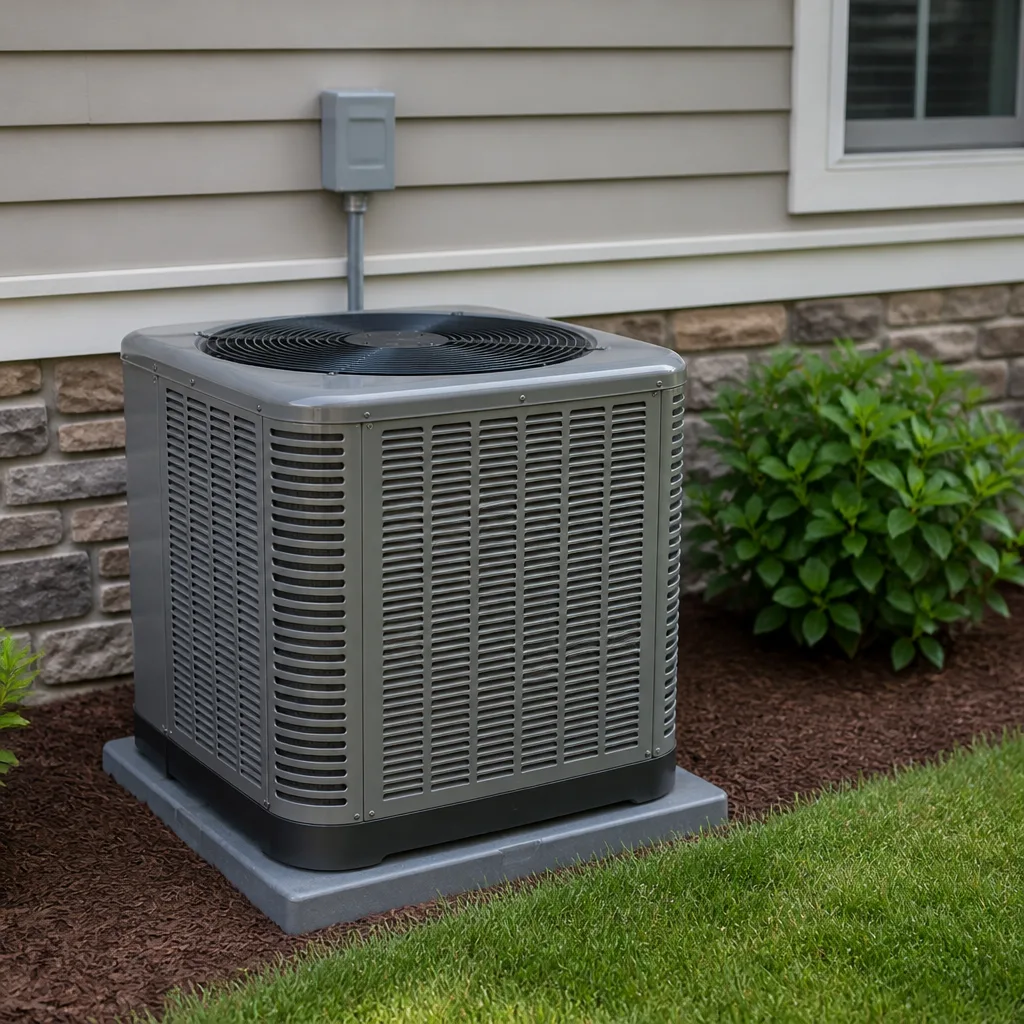
- Check the outdoor condenser unit for debris. Leaves, grass clippings, and cottonwood fluff can restrict airflow across the condenser coils. Turn the system off at the thermostat, then clear the debris with a garden hose on low pressure. Never use a pressure washer.
Every item on this list has the same profile: you’re looking, checking, and in some cases cleaning, but never opening an electrical enclosure or handling a refrigerant component. The moment a fix requires a screwdriver that opens a cabinet with wiring inside, you’re off the safe list and onto the next section.
Stop and Call: The Liability and Safety Line
Some AC components fail in ways that are safe to investigate. Others carry real risk to you and to the equipment. This is the line the troubleshooting guides usually skip. Here’s where we draw it, and why.
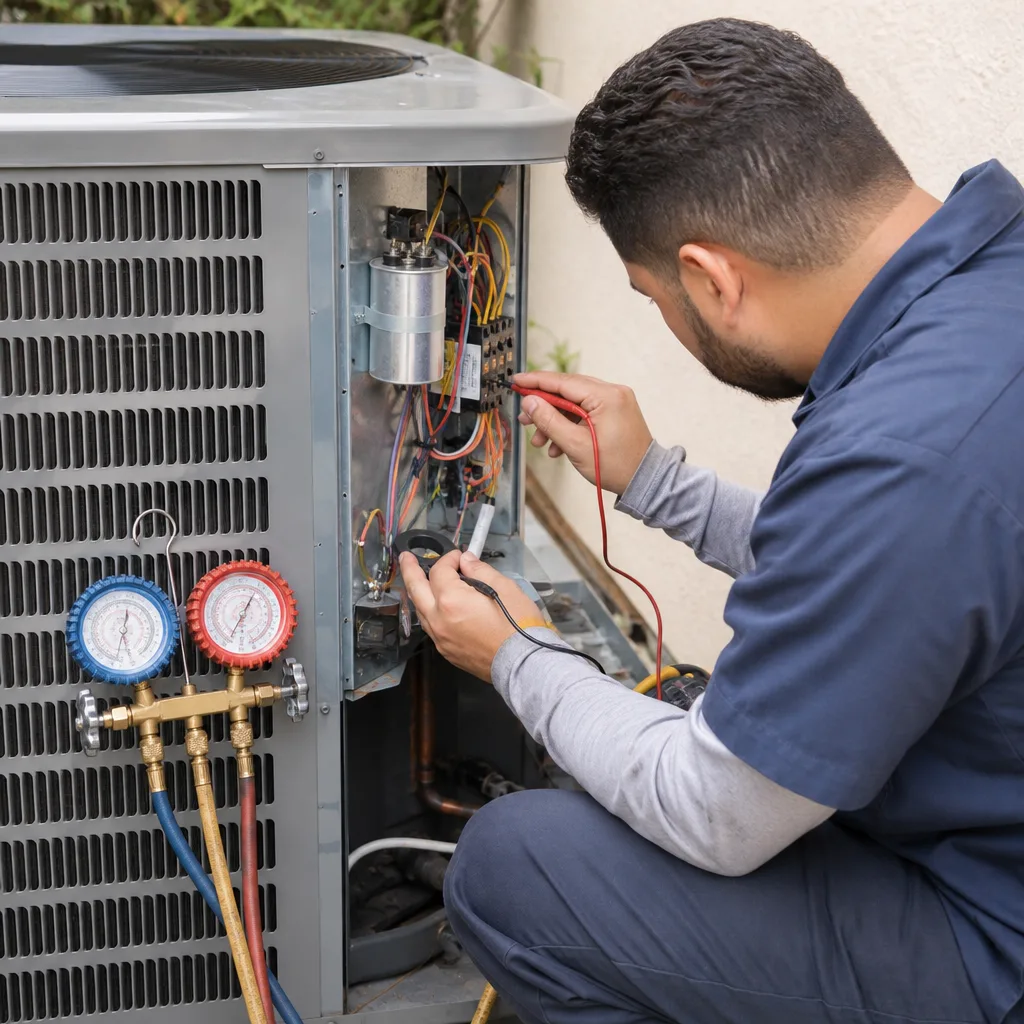
Anything involving electrical components with stored charge is firmly on the professional side. The capacitor in your outdoor unit can hold a lethal charge even after the power is off. It’s a cylindrical component that stores energy to give the compressor and fan motor their starting jolt. Touching the terminals without discharging it properly can cause serious injury or death. This is not hyperbole. We train our technicians to treat every capacitor as live until proven otherwise.
Anything involving refrigerant is also off-limits. Refrigerant operates under high pressure. A leak isn’t just an environmental issue (venting R-410A or R-22 to the atmosphere is illegal); the liquid refrigerant can cause severe frostbite burns on contact with skin. Adding refrigerant requires a license from the EPA. You can’t buy it yourself, and you shouldn’t try.
The compressor, fan motor, contactor, and control board are all components whose failure symptoms should send you to the phone, not the toolbox. If you’ve confirmed the thermostat is set correctly, the filter is clean, and the breaker is on (with no repeat trip), and the system still won’t start, the problem is one of these, and all of them require a licensed technician.
One more category deserves mention: anything still under warranty. Opening the equipment yourself can void the manufacturer’s warranty on a Carrier, Trane, or Bryant system. If your system is less than 10 years old, check your warranty terms before any DIY work. The risk isn’t just safety; it’s losing coverage on a part that could cost hundreds to replace.
Why a Tripped Breaker Is a Clue, Not the Problem
Here’s the scenario we see over and over in Los Angeles: a homeowner notices the AC isn’t running, walks to the electrical panel, sees the AC breaker has tripped, flips it back on, and the AC starts blowing cold. Problem solved, right? Three days later, the breaker trips again. They reset it again. A week later, the compressor is dead. The repair bill just went from a $90 diagnostic to a $1,200 – $2,800 compressor replacement.
A breaker trips for a reason. The breaker is a safety device that interrupts power when the circuit is drawing more current than it’s rated for. That excess current draw means something is wrong. The most common causes are:
- A failing capacitor that’s making the compressor work harder to start, drawing excessive amps each cycle.
- Dirty condenser coils that force the compressor to run hot, increasing current draw until the breaker gives up.
- A shorted compressor that’s already failing internally. This is the worst-case scenario, and the one where repeated resets do the most damage.
- A loose electrical connection creating resistance and heat at the disconnect box or breaker itself.
The rule we give every customer: if a breaker trips once, you can reset it once. If it holds and the system runs normally for days, it may have been a transient surge from the grid (common during Los Angeles heat waves when everyone’s AC is pulling at once). If it trips again within a week, or if it trips immediately when the AC tries to start, that’s the breaker doing its job. Stop resetting it and call a professional. Every reset is another jolt of stressful current through a component that’s already telling you it’s struggling.
For context on cost: diagnosing a tripping breaker typically runs $90 – $150 in the Los Angeles market. Replacing a capacitor that’s causing the trip is usually $150 – $300 parts and labor included. Replacing a compressor that’s been reset to death is $1,200 – $2,800 depending on brand and unit size. The economics of a single diagnostic call speak for themselves.
What That Sound Means: Rattling, Squealing, and Clicking Decoded
Your AC has a vocabulary. Every component failure has a signature sound, and learning to recognize them can save you from a cascading repair. For a deeper look at early indicators, see our post on AC Repair Warning Signs Every Homeowner Should Know. In our service calls across Los Angeles, we’ve found that homeowners who can describe the sound accurately over the phone help us arrive with the right parts on the truck the first time.
- Rattling or banging from the outdoor unit: This almost always means a loose or failing part is physically making contact inside the condenser cabinet. Common culprits: a failing fan blade, a loose mounting bolt, debris that got past the grill, or in the worst case, compressor internals breaking down. Mild rattling can wait a day or two. Loud banging should prompt a same-day shut-off and call.
- Squealing or screeching from the outdoor unit: This is the signature of a dying fan motor bearing. The sound often fades as the system runs and the bearing warms up, then returns on the next cool start. This is a progressive failure. If you catch it early, you replace a fan motor ($200 – $450). If you wait, the motor seizes, the compressor overheats from lack of airflow, and you’re looking at a much bigger repair.
- Clicking from the outdoor unit when trying to start: A single click that doesn’t result in the system running typically means the contactor (the electrical switch that sends power to the compressor) is engaging but the compressor or capacitor isn’t responding. Multiple rapid clicks usually mean a failing thermostat or a control board problem. Both are professional territory.
- Hissing or bubbling from the indoor unit or refrigerant lines: This is the sound of refrigerant escaping or flowing through a system with a leak. Hissing is active leakage. Bubbling is air in the lines. Either way, the system is losing cooling capacity and running inefficiently. This is a stop-and-call sound, not a wait-and-see sound.
- Humming that doesn’t turn into running: The motor or compressor is trying to start but can’t. Often this points to a failed capacitor. The component draws current, tries to spin up, and just sits there straining. Shut the system off and call, because a motor left in that state will overheat and fail completely.
When you call a technician, describe the sound in exactly these terms. Saying “it’s making a weird noise” costs you a diagnostic visit where the tech arrives without the parts they need. Saying “there’s a squealing that goes away after about ten seconds of running” tells us it’s likely the fan motor, and we can bring one along. In Los Angeles, where repair traffic is high during heat waves, that specificity can mean the difference between a one-visit fix and a multi-day wait for parts.
How to Read Your Thermostat Error Codes Before Calling
Modern thermostats and communicating systems (especially from brands like Daikin, Bryant, American Standard, and Carrier) are smarter than they look. When something goes wrong, many of them display an error code that tells you exactly which sensor or component triggered the shutdown. Reading that code before you call gives your technician a head start.
Here’s how to find and use it:
- Look at the thermostat display. If it’s showing a number, a letter-plus-number combination, or a wrench icon, that’s the error code. Write it down exactly as it appears.
- Check the condenser unit’s control board. Many outdoor units have a small LED light visible through a small window on the side panel. If it’s blinking, count the blink pattern. Long blinks and short blinks form a code (like 3 long, 2 short).
- Look up the code. Search your thermostat model number plus the code. If you have the original manual, the error code chart is in the troubleshooting section. This is information gathering, not repair. You’re just decoding what the system is telling you.
- Give the code to your technician when you call. We can look up the code for your specific system and often diagnose the failure before we arrive.
Some common codes we see on Los Angeles service calls: E1/E2/E3 on many Bryant and Carrier communicating systems (sensor faults), U4 on some Daikin models (communication error between indoor and outdoor units), and high pressure lockout codes on American Standard systems (often caused by dirty condenser coils on a 95°F day). Your system’s code meanings are in its manual, and the specific code is far more useful to us than a general description of the symptom.
The value here is diagnostic, not fix-it-yourself. A thermostat code tells you what to report. It doesn’t tell you how to repair the underlying problem. But a homeowner who can say “it’s throwing a high-pressure lockout code and the outdoor coil is covered in dust” has already done 80% of the diagnostic work we’d charge a service call for.
What to Have Ready When You Call
The phone call goes faster and the repair gets scheduled more accurately when you have three things ready. This is the difference between a tech who arrives with the right parts and one who arrives, looks at the system, says “I need to order a part,” and leaves you waiting through a Los Angeles heat wave.
- The model and serial number of your unit. The model number is on a sticker on the side of the outdoor condenser unit and on the indoor air handler. It’s usually a combination of letters and numbers like “24ACB7” (Carrier) or “RA16” (Rheem). The serial number tells us the manufacturing date, which tells us the warranty status. Take a photo of both stickers with your phone before you call.
- The symptom timeline. When did you first notice the problem? Was it sudden or gradual? Did anything change right before (a storm, a power outage, landscaping work near the condenser)? Does it happen only at certain times of day? The timeline narrows the diagnosis significantly. “It started making a rattling noise two weeks ago and stopped cooling yesterday” is a complete story. “It’s broken” is not.
- The last filter change date. This seems small, but it eliminates the #1 cause of cooling failures in the first 30 seconds of the call. If you can say “I changed the filter two weeks ago,” we skip that possibility and move down the diagnostic tree. If you say “I don’t remember,” we start there.
If you have the thermostat error code from the section above, include that too. And if you’ve already reset a breaker, tell us. We won’t judge. We just need to know how many times the system has been subjected to a hard restart.
Common Mistakes to Avoid
- Resetting a tripped breaker repeatedly. As covered above, every reset is another stress cycle on a compressor that’s already failing. One reset. If it trips again, call. The cost difference between a capacitor replacement and a compressor replacement is the cost of a modest Los Angeles vacation.
- Running the AC with the evaporator coil frozen. Ice blocks airflow, which causes the compressor to run hot, which causes more damage. Shut the system off, set the fan to “on” to circulate air and speed thawing, and wait for it to melt completely before restarting. Then investigate why it froze (usually dirty filter or low refrigerant).
- Closing too many supply vents to “redirect” air. Your system is designed to move a specific volume of air. Closing vents increases static pressure, which makes the blower work harder and can freeze the coil or damage the motor. In Los Angeles homes with older ductwork, this is a particularly bad idea.
- Using a “quick charge” refrigerant kit from the auto parts store. These products are for cars, not residential HVAC. They introduce the wrong refrigerant type, can contaminate your system, and will void your equipment warranty. Refrigerant work requires an EPA license and proper gauge sets.
- Ignoring a strange sound because “it still cools.” Every failing component cools for a while before it stops cooling completely. That’s the window where the repair is cheap and fast. The squealing fan motor you ignored for two months becomes a seized motor and an overheated compressor the week you have houseguests.
- Calling a different company for every repair. Each new technician starts from zero on your system’s history. A consistent service relationship (like the one we build with our Los Angeles customers starting with a simple AC maintenance visit) means that when something breaks, there’s already a baseline of what “normal” looked like for your equipment.
- Skipping annual maintenance to save money. The math doesn’t work. A $120 – $180 seasonal tune-up catches a $40 capacitor before it takes out a $1,500 compressor. Our AC repair work in Los Angeles is full of repairs that could have been much smaller, or avoided entirely, with an annual inspection.
When to Call a Professional
Here’s the short list of scenarios that should end with a phone call, not more troubleshooting. If the system trips a breaker twice, blow warm air despite a clean filter and correct thermostat settings, hisses or bubbles from the refrigerant lines, makes a loud banging from the outdoor unit, or has any electrical burning smell: stop and call. If there’s visible ice on the lines or coil, shut it off and call. If you’ve worked through the safe checklist and nothing changed, call. The threshold for professional help in these cases isn’t just about skill, it’s about safety for your home and your equipment. Brandt HVAC offers free estimates in Los Angeles. Call (984) 538-9003 and a live person will answer, any hour, any day. We’ll send you the name and photo of your technician before they arrive, and they’ll show a photo ID badge at the door.
Frequently Asked Questions
Safe problems are those you can address without opening an electrical panel, touching refrigerant components, or disassembling mechanical parts. That means checking and replacing the air filter, checking thermostat settings and batteries, clearing debris from around the outdoor unit, and inspecting visible ductwork for disconnections. Anything involving wiring, capacitors, refrigerant lines, or compressor internals should be handled by a licensed professional.
A breaker that trips repeatedly is protecting your equipment from a fault that’s causing excess current draw. The most common causes are a failing capacitor, dirty condenser coils, a loose electrical connection, or a compressor that’s in the early stages of failure. Reset the breaker once. If it trips again, calling a professional is the cheapest option compared to the cost of a compressor replacement.
In the Los Angeles market, typical AC repair costs run $150 – $300 for a capacitor replacement, $200 – $450 for a condenser fan motor, $90 – $150 for a diagnostic visit, and $1,200 – $2,800 for a compressor replacement. These are parts-and-labor ranges for common midsize residential systems. Note that furnace repairs and heat pump systems have their own cost structures. We give a written price before any work starts, so you’ll never approve a repair without knowing the exact number.
No. Refrigerant handling requires an EPA Section 608 certification, and the refrigerants used in residential systems (R-410A and R-22) are not available to unlicensed consumers in the United States. Attempting to add refrigerant with automotive products will contaminate your system and void the manufacturer’s warranty. A proper recharge starts with finding and fixing the leak that caused the low charge in the first place.
In Los Angeles, we recommend checking your filter monthly and changing it every 30 – 60 days during heavy-use months (June through October), and every 60 – 90 days during lighter-use periods. LA’s air includes fine particulate from vehicle traffic and seasonal wildfire smoke, both of which load up filters faster than the national average. Homes with pets should err toward the shorter interval.
First, check that the thermostat is set to “cool” and the fan is on “auto.” Then check the filter and replace it if it’s dirty. Look for ice on the indoor coil or refrigerant lines. If those are fine and the system is still blowing warm, the compressor may not be engaging, and that’s a professional diagnosis. Call us at (984) 538-9003 and describe the symptom, your filter status, and any error codes on the thermostat. That information helps us arrive prepared.
The Bottom Line
AC troubleshooting comes down to knowing where the line is. You can safely check your filter, thermostat, breaker status, and visible ductwork. You should stop before touching anything electrical, anything involving refrigerant, or anything inside the condenser cabinet. A tripped breaker is a symptom you can read, not a problem you can solve by resetting. Sounds have meanings, error codes have meanings, and both are worth writing down before you call. If you’ve worked the safe checklist and the system still isn’t cooling, or if you’re looking at any of the stop-and-call symptoms, a free estimate is one phone call away. For more guides & resources, visit our blog.
Written by Devin Marlowe, Owner at Brandt HVAC, serving Los Angeles since 2003.