
Last updated October 9, 2026
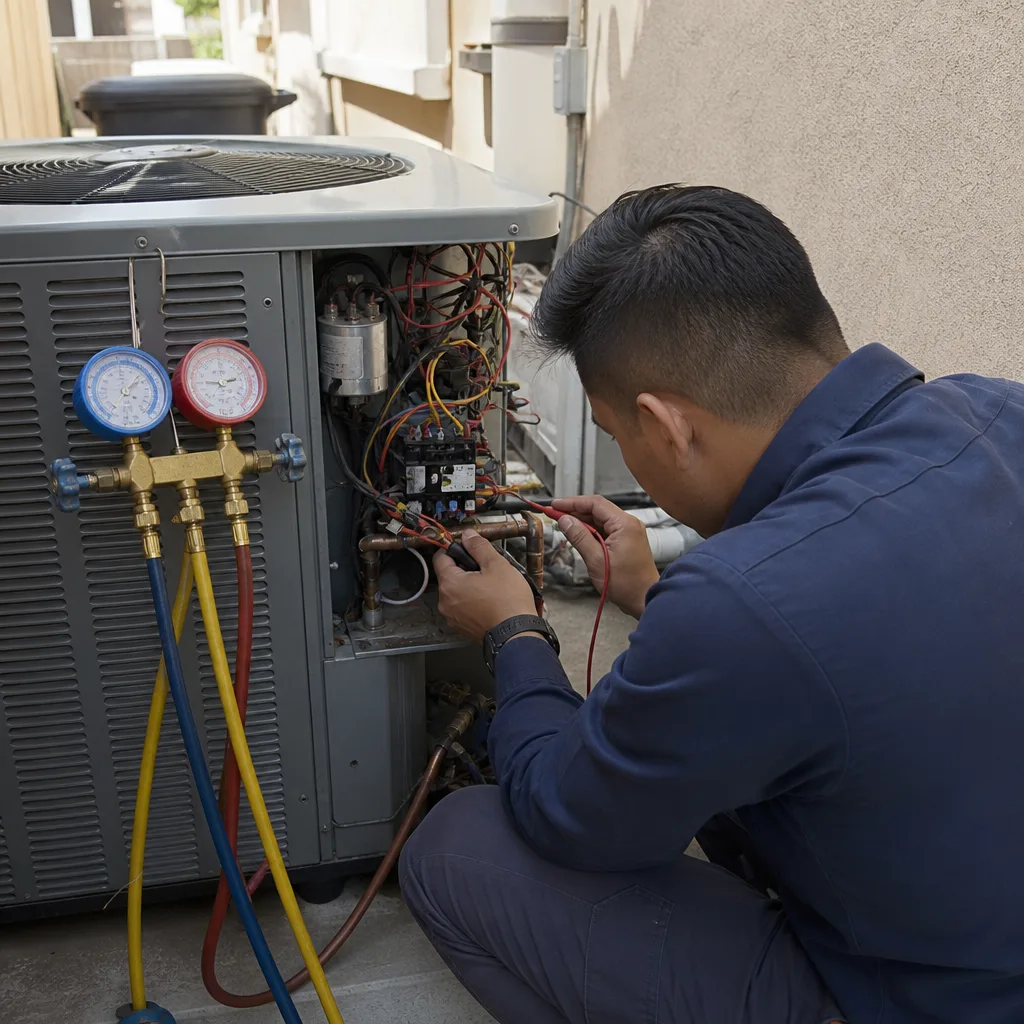
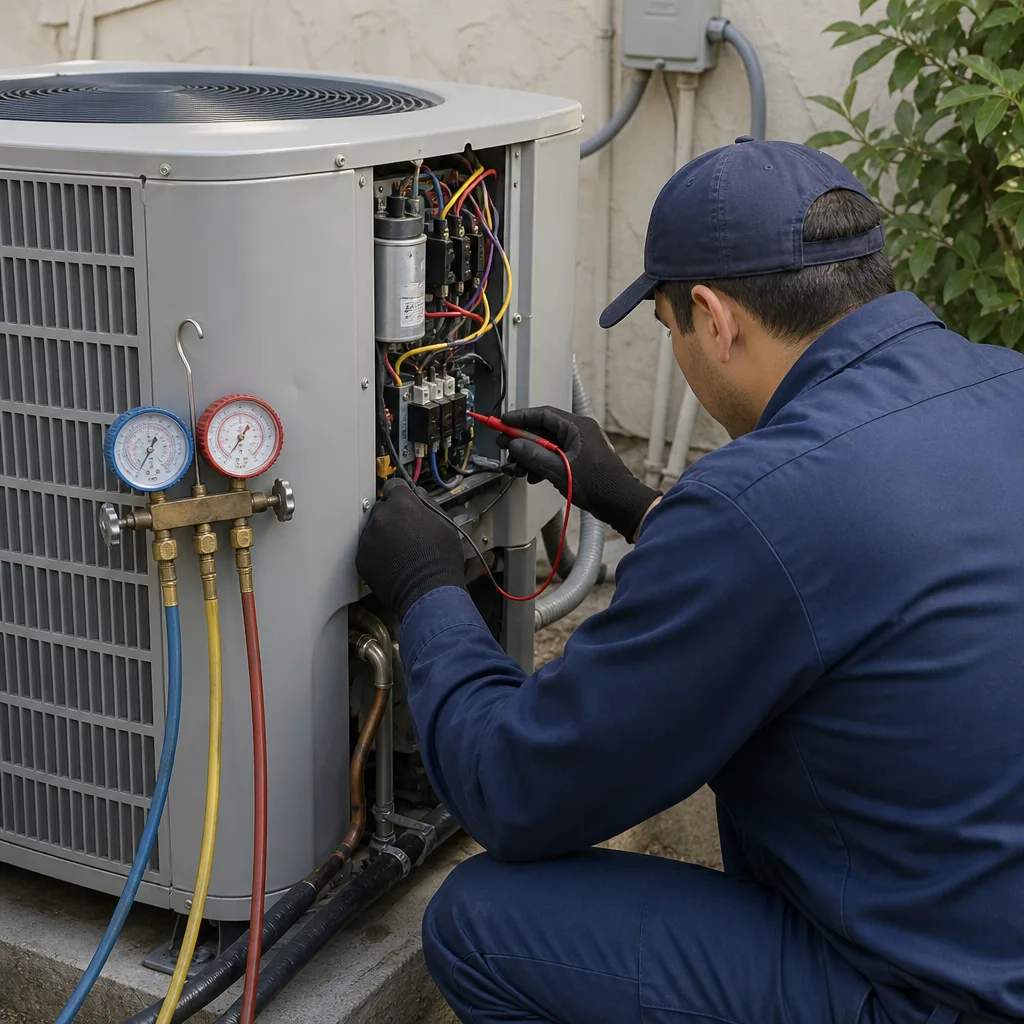
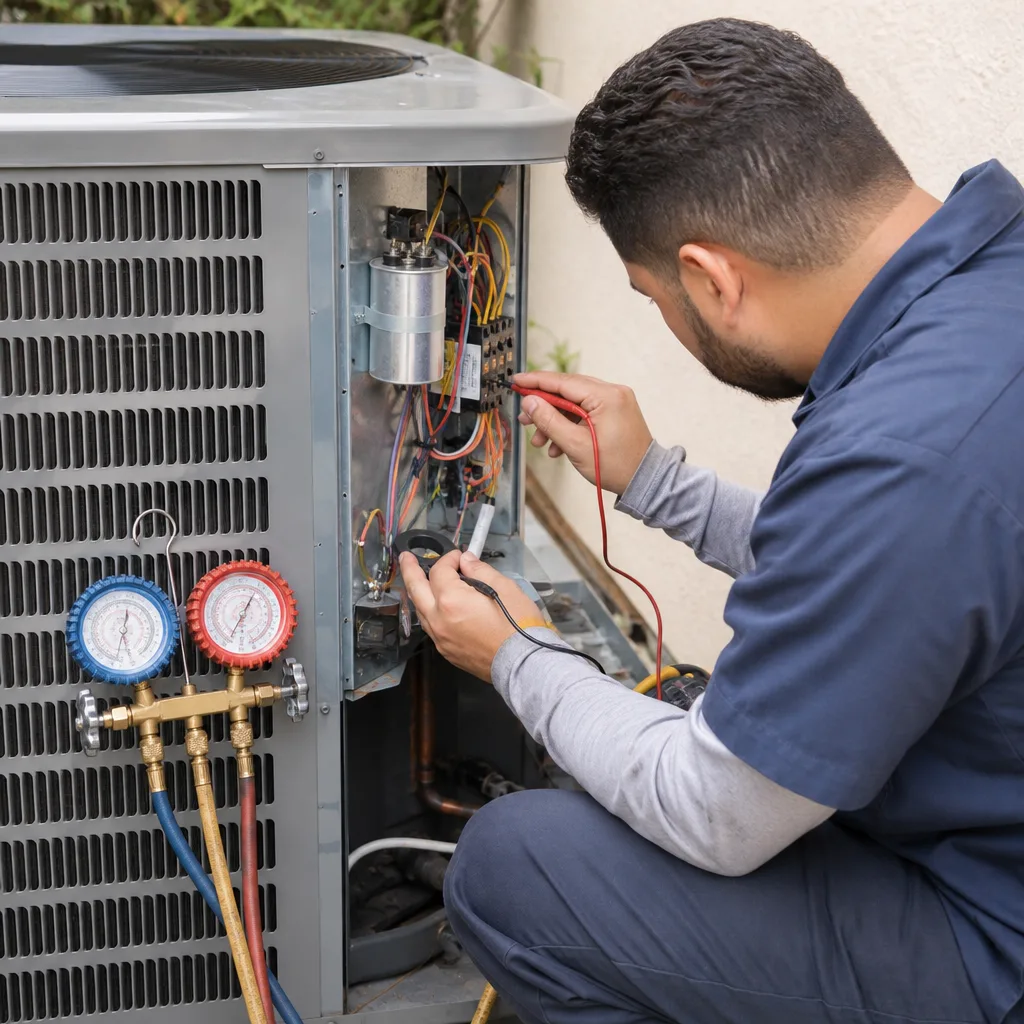
Seasonal tune-up and full diagnostic on your Carrier, Trane, or Goodman system - readings shown to you before any repair is proposed
Diagnosis first, numbers second - you approve the repair price before a single part goes in.
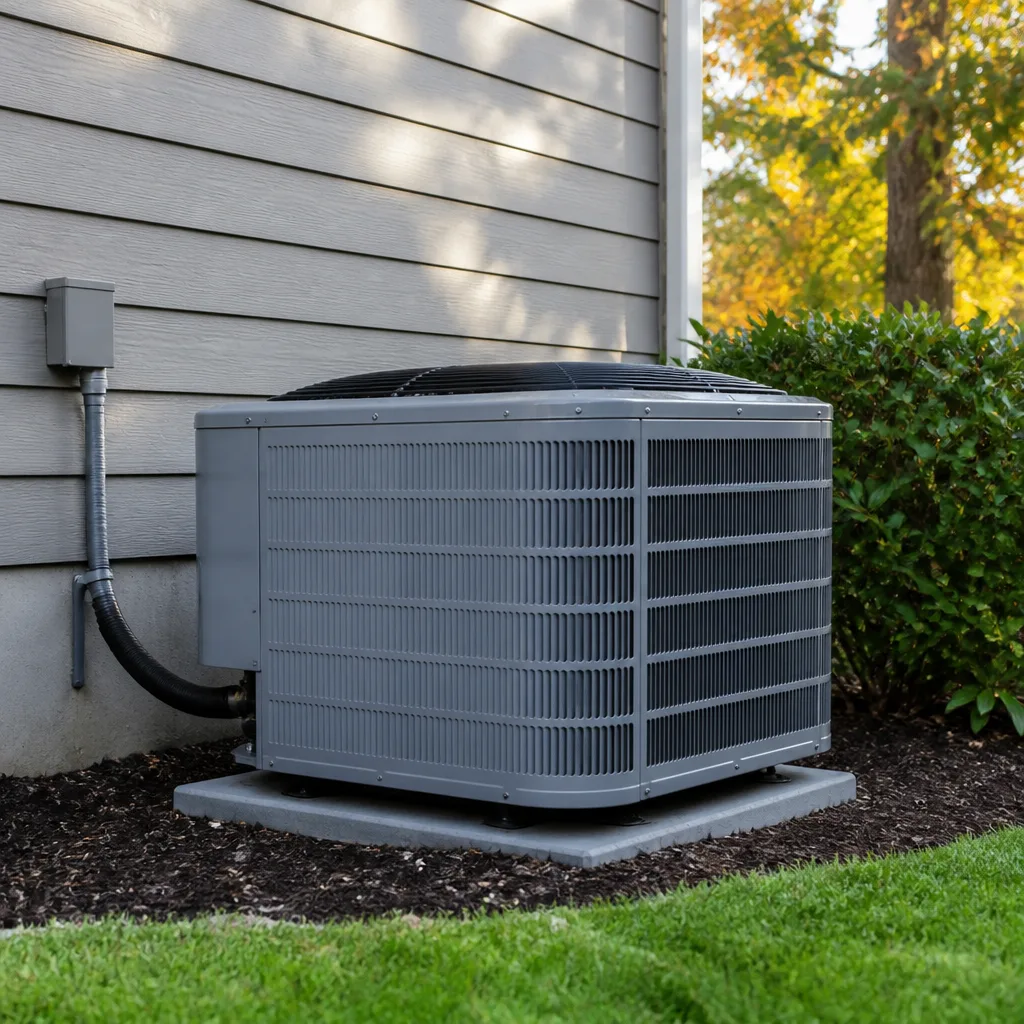
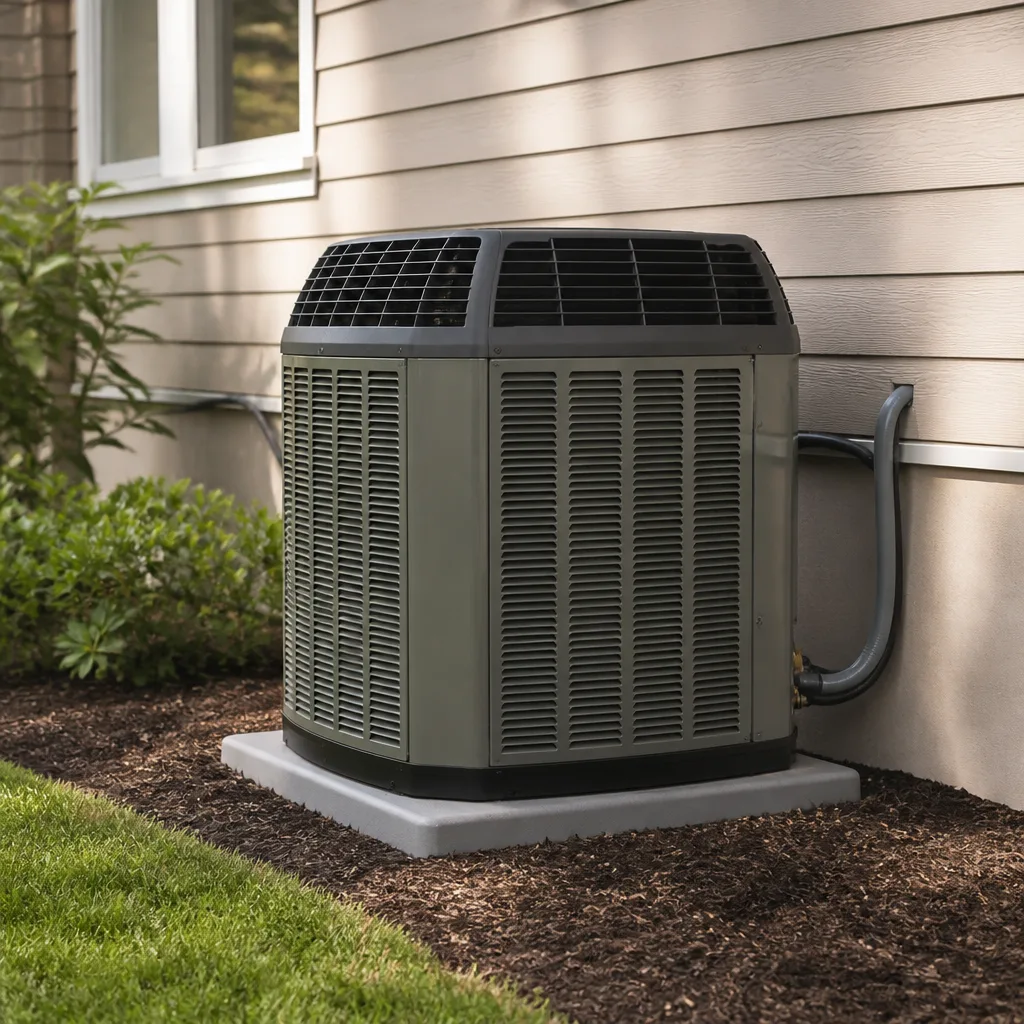
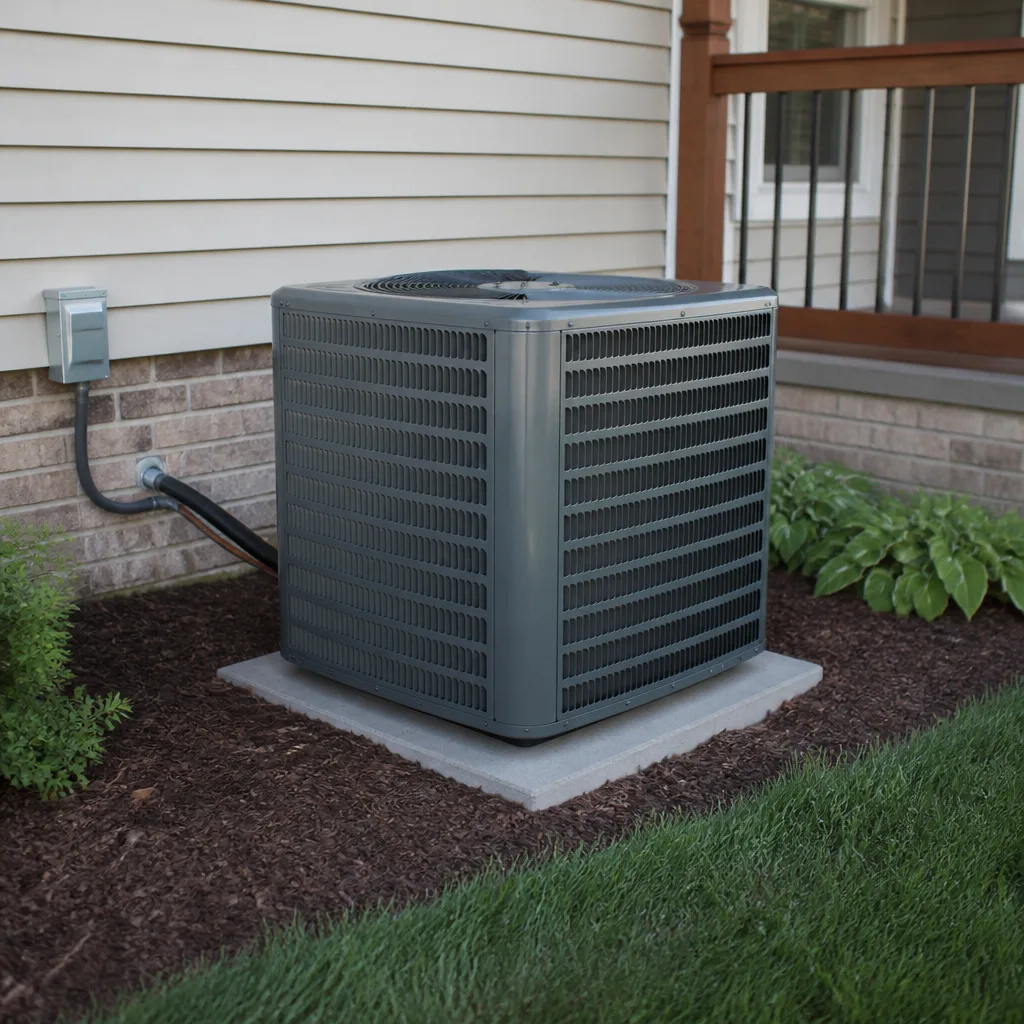
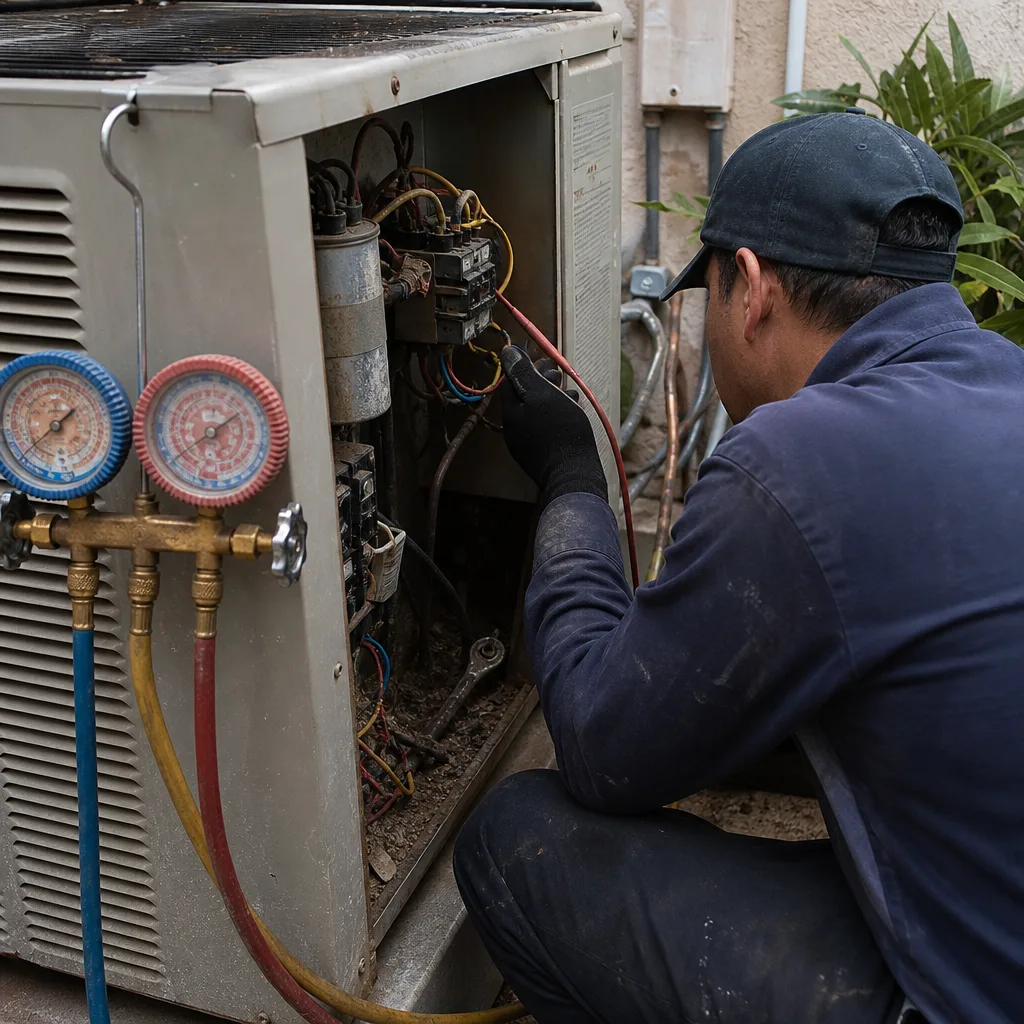 Before
 After
After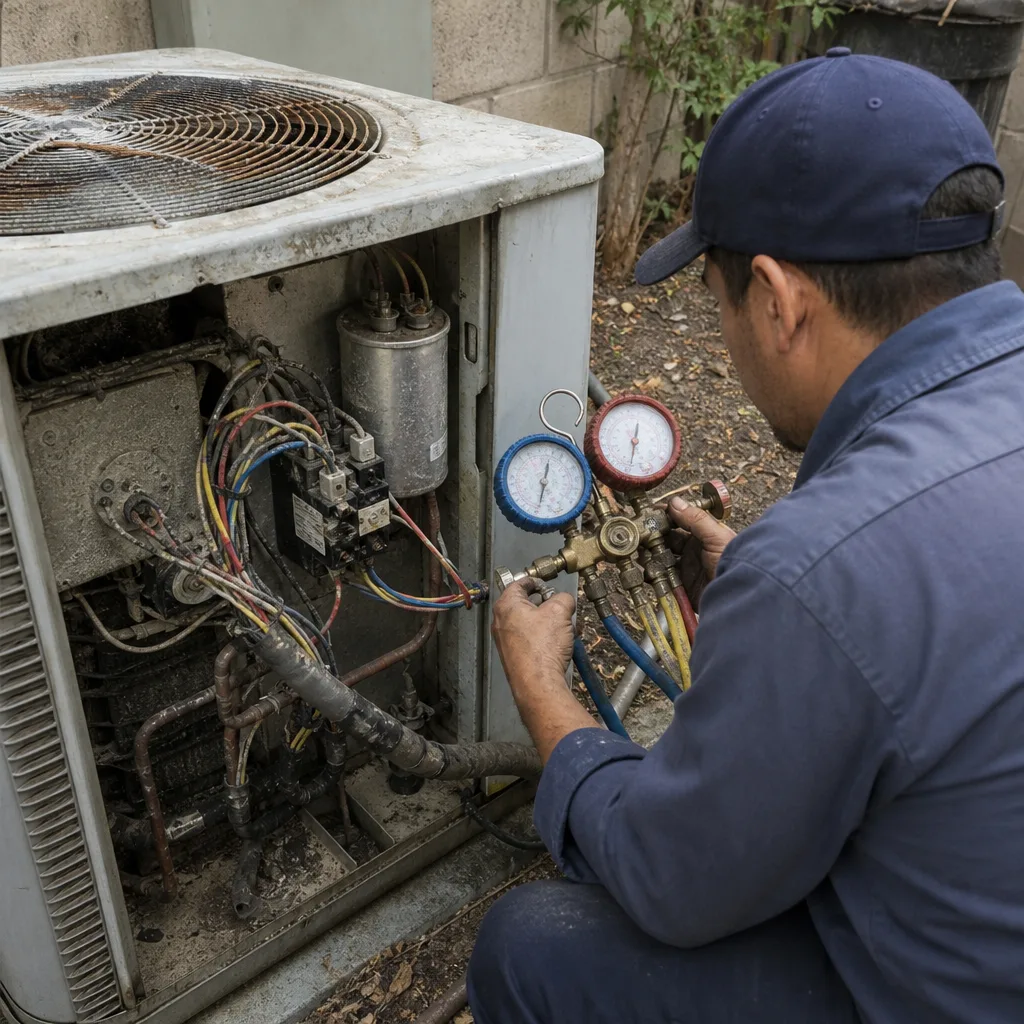 Before
 After
After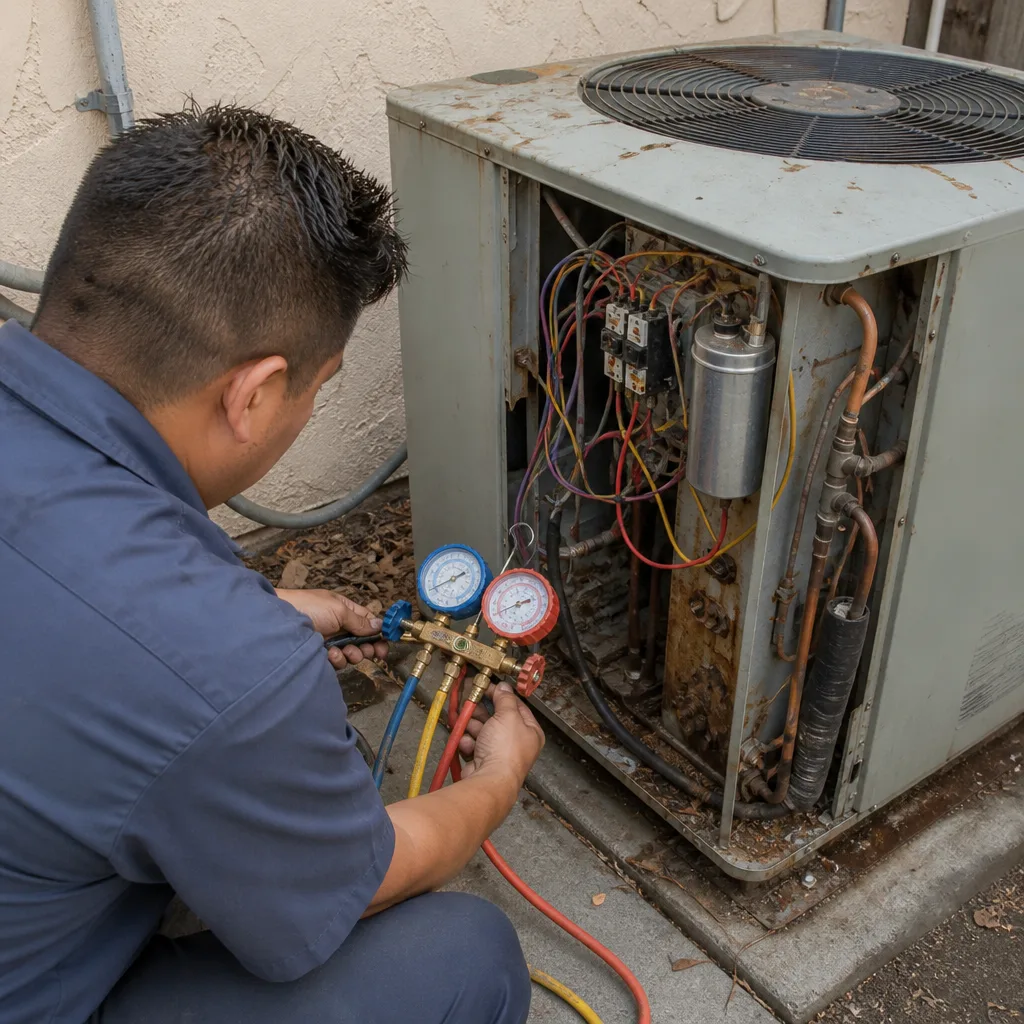 Before
 After
AfterAC Maintenance Troubleshooting: Common Problems and How to Fix Them
Half of all residential AC service calls end with a technician resetting a tripped breaker, swapping a clogged filter, or clearing a blocked condensate drain. Those are fixes that take under ten minutes and cost almost nothing. This guide walks you through a five-minute diagnostic sequence that separates the problems you can solve tonight from the ones that genuinely need a trained professional, and points you to our AC Maintenance services when professional help is required. In Los Angeles, where a dead AC unit in August turns a house into an oven by noon, knowing which category you are in before you pick up the phone saves real money and a miserable wait. You will learn the exact decision path, what those cryptic thermostat error codes actually mean, and where the line is between safe homeowner territory and warranty-voiding danger.
Quick Answer
AC troubleshooting should always start with the three most common and cheapest fixes: confirm the thermostat is set correctly, check and replace the air filter if it is dirty, and inspect the breaker and condensate drain line for obvious trips or clogs. If those three checks do not resolve the problem, gather the model number, the exact symptom, and any error code before calling a technician. This sequence resolves roughly half of all residential no-cool calls in Los Angeles without a service visit, though persistent issues may indicate AC Maintenance Warning Signs Every Homeowner Should Know.
Table of Contents
- The Five-Minute Diagnostic Sequence
- Thermostat and Smart System Error Codes, Explained in Plain English
- The Condensate Drain Line: The Most Overlooked Maintenance Item
- Air Filter Problems and the $12 Fix
- Breaker Trips and Power Issues
- Where to Stop: Steps That Void Warranties or Create Safety Risks
- What to Gather Before Calling a Technician
The Five-Minute Diagnostic Sequence
We have walked thousands of Los Angeles homeowners through this exact sequence over the phone, and the order matters. It starts with the free fixes and escalates only when those fail. In our experience serving homes from the Valley to the Westside, this sequence resolves the issue without a service visit in roughly half of all cases where the unit is running but not cooling, or not running at all.
- Confirm the thermostat is set to COOL and the setpoint is at least 5 degrees below the room temperature. It sounds obvious, but roughly one in five no-cool calls we take in Los Angeles is a thermostat that got switched to HEAT or OFF by a child, a guest, or a cat walking across the display. If the thermostat screen is blank, replace the batteries before doing anything else.
- Check the air filter. If you can see a layer of gray fuzz on the filter, or if you cannot see the filter material through the dust, it is restricting airflow. A clogged filter is the single most common cause of a frozen evaporator coil, which presents as a unit that runs constantly but blows warm air. Replace it with a clean filter of the same size. Do not run the AC without a filter.
- Check the breaker panel. An AC unit draws a lot of current on startup, especially during a Los Angeles heat wave when every house on the block is running full blast. Find the double-pole breaker labeled AC or air handler. If it is in the middle position or fully OFF, flip it all the way OFF, then back to ON. If it trips again immediately, stop. That is a short, not a nuisance trip, and it needs a professional.
- Inspect the condensate drain line. Look for water pooling around the indoor air handler or a wet spot on the ceiling below an attic unit. Most modern units have a float switch that shuts the system down when the drain backs up. A blocked drain is the second most common cause of a unit that will not start at all.
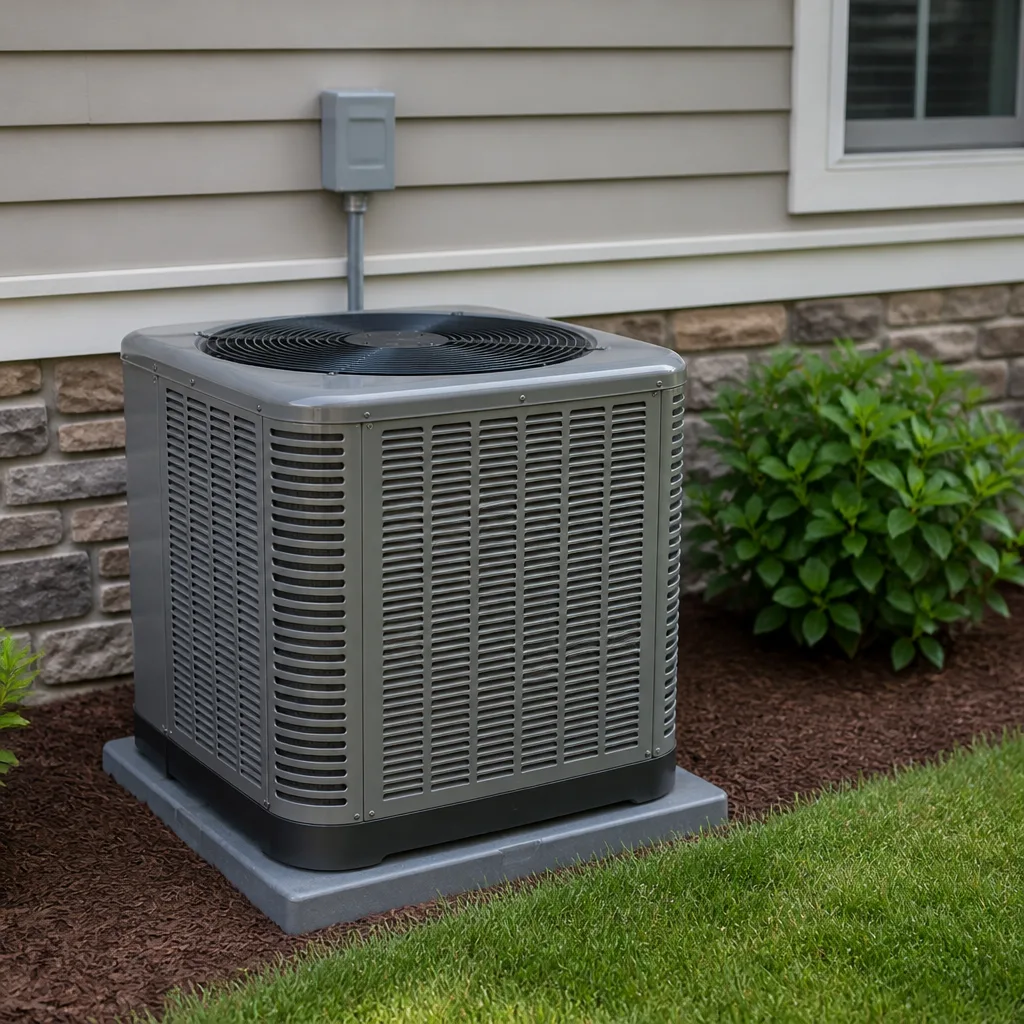
- Listen and look at the outdoor unit. Go outside. Is the fan spinning? Is the compressor making a loud hum without starting? Is there ice on the copper lines? Write down exactly what you see and hear. That one observation tells a technician more than a hundred words of description.
If steps one through five did not restore cooling, the problem is almost certainly electrical, refrigerant-related, or mechanical, and it belongs in professional hands. The remaining sections explain what each check actually means and where the danger line sits.
Thermostat and Smart System Error Codes, Explained in Plain English
Modern thermostats from Carrier, Trane, and American Standard systems, along with smart thermostats like Nest and Ecobee, display numeric or letter codes that tell you what the system thinks is wrong. Most homeowners ignore these codes because they do not know what they mean. Yet reading the code correctly can save you a diagnostic fee and tell you whether you are dealing with a $20 part or a $2,000 compressor.
Here are the codes we see most often on Los Angeles service calls, translated from HVAC jargon into plain language:
- E1, E2, E3, or “Fault” on a smart thermostat: Communication error between the thermostat and the air handler. Usually a loose wire, a dead thermostat battery, or a tripped breaker on the air handler. Try replacing thermostat batteries first. If the code persists, a technician needs to test the low-voltage wiring.
- Condensate switch open, float switch, or “drain pan full” alert: The drain line is blocked and the safety switch has cut power to the unit. This is the system protecting your ceiling or floor from water damage. Clear the drain (see the next section) and the code typically resets itself.
- High pressure lockout or “HPL” on a Carrier or Bryant unit: The system detected dangerously high refrigerant pressure and shut itself off. Common causes are a dirty outdoor coil, a failed condenser fan motor, or a refrigerant overcharge. This is a professional repair. Do not reset it repeatedly; you can damage the compressor.
- Low pressure lockout or “LPL”: The system detected low refrigerant pressure. In most cases, this means a refrigerant leak. In Los Angeles, leaks are common in units older than ten years, especially along the coast where salt air attacks the aluminum fins of outdoor coils. A technician must find and repair the leak before recharging. Adding refrigerant without finding the leak is illegal under EPA rules and a waste of money.
- Sensor failure or “SEN” on a Trane or American Standard unit: A temperature sensor has failed or disconnected. This can cause the system to run constantly or short-cycle. It is a relatively inexpensive part, but diagnosing which sensor requires a multimeter and experience.
The key point: read the code, write it down, and include it when you call for service. A technician who knows the code before they arrive can bring the right part on the first trip.
The Condensate Drain Line: The Most Overlooked Maintenance Item
Every time your AC runs, it pulls moisture out of the air. In Los Angeles, where summer humidity is low but not zero, a typical residential system produces two to five gallons of condensate per day. That water has to go somewhere, and it drains through a PVC pipe that runs from the indoor unit to the outside of your house. Over months of operation, that pipe accumulates dust, algae, and biological slime. When it clogs, the water backs up into the drain pan. The float switch trips. The system shuts down. And if the pan is old or cracked, water ends up in your ceiling, your walls, or your flooring.
Clearing a partially clogged drain line is within reach of most homeowners, and doing it once or twice a year prevents the majority of water-damage claims we see on Los Angeles AC systems. Here is the safe method:
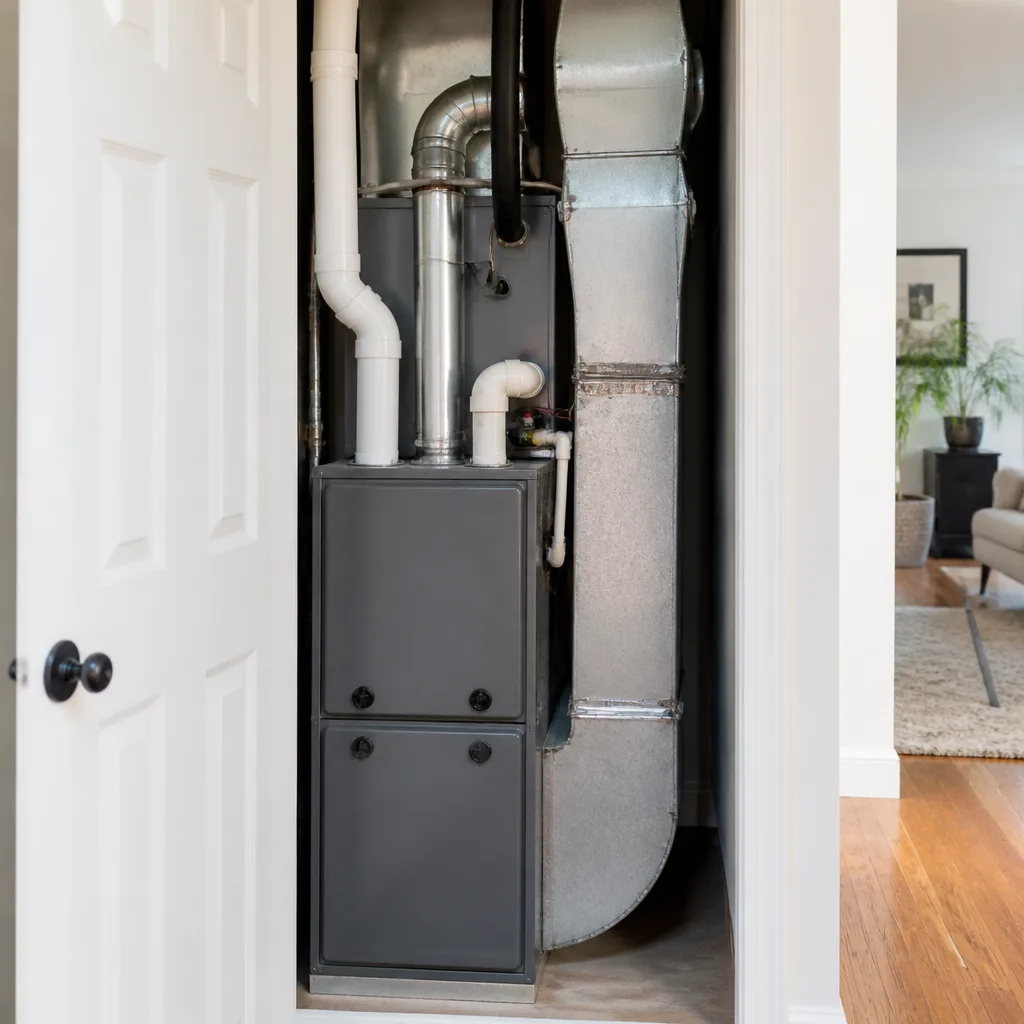
- Locate the drain line. Find the indoor air handler. It is usually in a closet, attic, or garage. Look for a white PVC pipe, typically 3/4 inch, running out of the unit and either through the wall to the outside or into a floor drain.
- Check the drain pan and float switch. If you see standing water in the pan, the clog is active. If the float switch is raised, the system is intentionally disabled. Do not bypass the switch.
- Clear the line with a shop vacuum. Go outside and find where the drain line exits the house. Set a wet/dry vacuum to suction, and hold the hose over the end of the pipe for one to two minutes. You can seal the connection with a rag or duct tape to improve suction. This pulls the clog out from the exit end. In most cases, this single step clears the blockage.
- Flush the line. Back inside, pour one cup of white vinegar into the drain line opening or the cleanout tee. Vinegar dissolves the biological growth without damaging the PVC. Do not use bleach. Bleach hardens organic material and can crack the pipe over time.
- Confirm flow. Wait ten minutes, then check whether the float switch has lowered and whether water is draining outside. If the line is still clogged, the blockage may be too deep for vinegar to reach, and a technician with compressed air or a drain snake is the next step.
If you have an attic unit and you see water stains on the ceiling below the air handler, do not attempt a DIY fix. The damage is already happening. Shut the system off at the thermostat and call a professional. The cost of a drain line clearing is trivial compared to drywall repair, mold remediation, and a new ceiling.
Air Filter Problems and the $12 Fix
The air filter is the most mechanical-simple and most commonly neglected component in a residential HVAC system. We have replaced filters in Los Angeles homes that had not been changed in two years, and the consequences are predictable: restricted airflow, frozen coils, higher energy bills, and a system that works itself to death years before it should.
Here is what actually happens when a filter clogs. The blower motor has to pull air through a barrier that is increasingly dense with dust, pet hair, and pollen. As airflow drops, the evaporator coil gets too cold, and the moisture on it freezes. The coil becomes a block of ice. The system keeps running because the thermostat still calls for cooling, but no heat transfers into the air. The compressor works harder, runs hotter, and eventually fails. In Los Angeles, where AC systems run from May through October, a clogged filter can take five to seven years off a compressor’s lifespan.
The fix is a $12 pleated filter from any hardware store, changed every 30 to 90 days depending on your home. Here are the rules that actually matter:
- Know your filter size. The dimensions are printed on the cardboard frame of the existing filter. Common residential sizes in the Los Angeles market are 16x20x1, 20x20x1, and 16x25x1. Buy the same size.
- Do not buy a filter with too high a MERV rating. A MERV 13 filter catches more particles but also restricts more airflow. For most residential systems, a MERV 8 or MERV 11 is the right balance. If you have allergies, upgrade the filter, but be aware that a restrictive filter on a marginal system can cause the same problems as a dirty one.
- Check the arrow. Every filter has an airflow direction arrow printed on the frame. It must point toward the air handler or furnace. Installing it backwards reduces efficiency and can collapse the filter material.
- Homes with pets, kids, or nearby construction need more frequent changes. In Los Angeles neighborhoods with high dust levels, especially near the 405 corridor or any active construction, a 30-day replacement cycle is realistic.
If your filter has not been changed in over six months, change it before you do anything else. A surprising number of “broken” AC systems are fixed by this one action.
Breaker Trips and Power Issues
A breaker trip is the most common free fix and the one most often confused with a dead compressor. When a breaker trips, the thermostat goes dark, the outdoor unit stops, and the house gets warm. The homeowner assumes the worst. In many cases, the fix is walking to the panel and flipping a switch.
Here is the diagnostic path we recommend, in order:
- Find the AC breaker. It is a double-pole breaker, usually 30 to 60 amps, and it should be labeled. In older Los Angeles homes with the panel outside, it may be weathered and hard to read. Trace the labels carefully.
- Identify the trip. A tripped breaker usually sits in the middle position, not fully OFF. Some breakers have a red indicator window. If you see red, that is a trip.
- Reset it correctly. Push the breaker fully OFF, then fully ON. You should feel a firm click. A breaker that will not stay ON or trips again within minutes is not a nuisance trip. Repeatedly resetting it can start a fire.
- If the breaker holds and the system starts, monitor it. If it trips again the same day, the cause is real: a failing capacitor, a shorted compressor, a grounded wire, or a failing breaker itself. Call a professional. Continuing to reset a breaker that keeps tripping is dangerous and can cause electrical damage inside the unit.
- Check the outdoor disconnect. Next to the outdoor condenser is a gray box with a handle or a pull-out block. In Los Angeles, especially in high-traffic areas or on properties with landscapers, this disconnect sometimes gets switched off accidentally. Make sure it is in the ON position.
One important note that most troubleshooting guides miss: a breaker that trips during a heat wave at 3 PM, when the grid is stressed and every unit on the block is straining, is often a voltage sag issue rather than an equipment failure. In Los Angeles neighborhoods with aging utility infrastructure, low line voltage can cause the compressor to draw more current and trip the breaker. If your system has been running fine all summer and only trips during extreme heat events, a technician should check both the unit and the incoming line voltage before condemning the compressor.
Where to Stop: Steps That Void Warranties or Create Safety Risks
This is the section most troubleshooting guides leave out, and it is the one that matters most for your safety and your wallet. There is a line between homeowner maintenance and work that belongs to a licensed professional. Cross that line, and you risk injury, damage, or a voided warranty that leaves you paying full price for a repair the manufacturer would have covered.
Here is exactly where the line sits:
- Do not open the sealed refrigerant system. The copper lines, the compressor, and the refrigerant inside them are a closed, pressurized system. Federal law requires EPA Section 608 certification to handle refrigerant. If you open a line and release refrigerant, you are breaking the law, damaging the system, and voiding the compressor warranty on most brands, including Carrier, Trane, and American Standard. There is no DIY version of a refrigerant recharge.
- Do not bypass a float switch, pressure switch, or any safety device. These switches exist to protect the equipment and your home. A homeowner who jumps the wires on a float switch to force the system back on will get cooling, and a week later will get a flooded ceiling.
- Do not open the electrical panel of the air handler or condenser. Residential AC equipment runs on 240 volts. That voltage is lethal. Even with the breaker off, capacitors inside the unit store a charge that can stop a heart. Capacitor testing and replacement is one of the most common AC repairs, but it is not a homeowner repair. Let a professional do it.
- Do not add “tap and dye” or any internet refrigerant additive. These products promise to seal leaks from the inside. What they actually do is clog the expansion valve, contaminate the refrigerant, and turn a $300 leak repair into a $3,000 compressor replacement. No major manufacturer approves them. No reputable technician uses them. If a company recommends this, find another company.
- Do not pressure-wash the outdoor coil. A dirty outdoor coil reduces efficiency, but cleaning it with a pressure washer bends the aluminum fins flat and destroys heat transfer. There is a correct fin-combing and chemical cleaning procedure. It is a maintenance task, but it requires technique and moderate care.
For everything above this line, the rule is simple: this is where the phone call happens. The cost of a service call is almost always less than the cost of the damage caused by crossing the line.
What to Gather Before Calling a Technician
When you do cross that line and call a professional, the efficiency of the appointment depends on what you can tell them before they arrive. A technician who knows the symptom, the error code, and the equipment details can bring the right parts on the first trip. A technician who gets “it’s not working” spends the first 30 minutes on detective work that you could have done in five.
Here is the checklist we recommend to every homeowner before they call:
- The exact symptom, in one sentence. “The outside unit hums for five seconds and then shuts off.” “The system runs constantly but the air coming out is warm.” “The thermostat is blank.” “There is water dripping from the ceiling under the attic unit.” Specific beats vague every time.
- The brand and model number of the condensing unit. The model is printed on a data plate on the outside unit, usually on the side near the refrigerant lines. It looks like “24ABC648A003” on a Carrier unit or “4TTR5042E1000A” on a Trane. The brand alone helps; the model number tells the technician exactly which parts the unit uses.
- The thermostat error code, if any. Write it down exactly as displayed. Take a photo with your phone if that is easier.
- The history. When did the problem start? Did anything change recently, like a renovation, a new pet, a blown fuse, or an unusual noise? One of the most useful pieces of information a Los Angeles homeowner can provide is “it started the day after the gardener trimmed the hedges next to the outdoor unit.” That one detail can point directly to a nicked refrigerant line or a clogged coil.
- The age of the system, if you know it. The manufacture date is on the same data plate. A 20-year-old R-22 system in Los Angeles has a different repair calculation than a 5-year-old unit under warranty.
Gathering this information takes five minutes and saves a diagnostic fee on the first visit in a meaningful percentage of cases. It also tells the technician, and the company dispatcher, that they are dealing with an informed homeowner who knows their system. That changes the dynamic of the entire appointment.
Common Mistakes to Avoid
- Cranking the thermostat down to 60 degrees to speed up cooling. An AC system cools at one speed. Setting it lower does not make it colder faster; it just makes it run longer. In Los Angeles heat waves, this overworks the compressor and raises your bill for no benefit.
- Replacing the thermostat batteries and then not reprogramming the schedule. Many smart thermostats lose their schedule when the batteries die completely. You fix the battery and the system still does not cool because the schedule is blank. Check the schedule after any battery replacement.
- Running the system with a frozen coil and assuming it will thaw on its own. A frozen coil indicates restricted airflow or low refrigerant. Thawing it by running the fan is fine, but if you do not fix the cause, it will freeze again. Running the compressor against ice for days causes damage that no maintenance plan will cover.
- Ignoring a wet spot on the ceiling near the air handler. Water damage from a clogged drain line gets worse by the hour. By the time the stain is visible, the drywall is already saturated. Shut the system off and call a professional the same day.
- Cleaning the outdoor unit by spraying it with a garden hose while the system is running. Water and electricity do not mix. Always disconnect the power first. This is also the method that bends fins and pushes debris deeper into the coil. If the coil is visibly dirty, have it cleaned properly.
- Assuming a loud buzzing outdoor unit means the compressor is dead. That buzz is often a failed capacitor, a $20 part and a 30-minute repair. A compressor replacement is thousands. Do not diagnose by sound alone, and do not let anyone replace a compressor without testing the capacitor and contactor first.
- Skipping annual maintenance on a unit that runs ten months a year. Los Angeles AC systems log more runtime hours than almost anywhere in the country. A unit that goes five years without a professional inspection is running on borrowed time. Our AC Maintenance in Los Angeles page explains exactly what a full inspection covers and why it pays for itself in avoided repairs.
When to Call a Professional
Call a professional immediately if you have a breaker that trips more than once, a refrigerant leak suspected from a low pressure code or an oily residue on the lines, any electrical burning smell from the air handler or outdoor unit, water actively leaking through a ceiling, a compressor that hums without starting, or any symptom you cannot explain after completing the five-minute diagnostic. These are not maintenance issues. They are failures that require tools, training, and legal certification. In the Los Angeles market, a no-cool emergency in July or August is a health issue, not just a comfort issue, and response time matters. Brandt HVAC offers free estimates in Los Angeles, and a live person answers the phone 24 hours a day. Call (984) 538-9003 any time to describe what you are seeing, and we will tell you honestly whether it can wait or needs a same-day visit.
Frequently Asked Questions
The most common reason is a clogged air filter restricting airflow and causing the evaporator coil to freeze. Replace the filter and run the fan only for a few hours to thaw the coil. If the system still does not cool after the coil is thawed, the cause is low refrigerant, a failed compressor, or a duct problem, and a technician is required. Check the filter first; it is the $12 fix that resolves more no-cool calls than any other single action.
A service call in the Los Angeles market typically runs $75 to $150 for the diagnostic, with many companies applying that fee toward the repair if you proceed. Simple repairs like a capacitor replacement or a drain line clearing usually total $150 to $350 parts, labor, and diagnosis included. A compressor replacement on a 10-year-old unit can exceed $2,500, which is why the five-minute diagnostic matters. At Brandt HVAC, the written price is provided before any work starts, on every job, with no exceptions.
Yes, in most cases. The standard method uses a wet/dry vacuum applied to the outside end of the drain line to suction out the blockage, followed by a cup of white vinegar poured into the indoor line to dissolve biological growth. If the line will not clear after one attempt, the clog may be too deep, and a professional with a drain snake or compressed air should take over. Never pour bleach into a drain line.
Every 30 to 60 days for most Los Angeles homes, especially during the May through October cooling season. Homes with pets, children, or nearby construction should check monthly and expect to change the filter every 30 days. A filter that looks visibly dusty or gray has already gone too long.
A buzz from the outdoor unit usually means the compressor is trying to start but cannot, most often because the start capacitor has failed. The capacitor is a relatively inexpensive part, and replacing it is a 30-minute repair. Do not let anyone sell you a compressor replacement without first testing the capacitor and contactor. Turn the system off at the thermostat and call a professional if you hear this sound.
Most major brands, including Carrier, Trane, Lennox, and American Standard, offer a 10-year parts warranty on the compressor and major components when the system is registered within 60 days of installation and maintained by a licensed professional. The key detail most homeowners miss: the warranty covers parts, not labor, and the manufacturer can deny a claim if the failure was caused by neglect, like a never-changed filter or a bypassed safety switch. Keep records of your maintenance visits. They are your proof if a warranty claim comes up.
The Bottom Line
Most AC problems are simpler than they appear, and a calm, methodical five-minute check solves a surprising number of them. Start with the thermostat, the filter, the breaker, and the drain line, in that order. Know where the line is between homeowner work and professional territory, and respect it, because crossing it costs more than a service call ever will. When the problem goes beyond that line, gather the symptom, the model number, and the error code before you pick up the phone. And when you are ready to call, call a company that tells you who is coming, writes down the price before the work starts, and guarantees the repair for a full year. Our AC Repair in Los Angeles page explains exactly how that works, and our Furnace Repair in Los Angeles page covers the heating side when the season turns. Start with the five-minute check. Then trust your own judgment about when to call.
Written by Devin Marlowe, Owner at Brandt HVAC, serving Los Angeles since 2003.